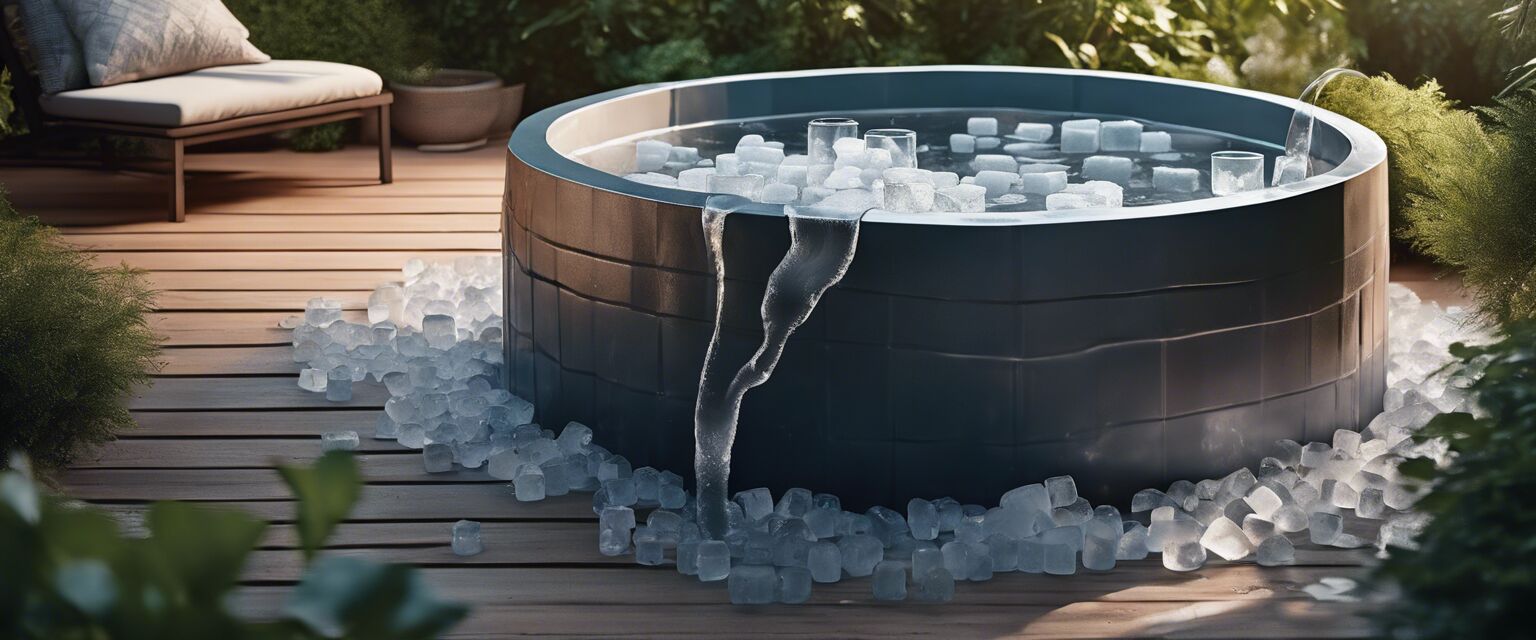
Introduction to DIY Ice Baths
Key Takeaways
- Setting up a DIY ice bath can enhance recovery after physical workouts.
- Understanding necessary materials and steps is essential for effective setup.
- Various filling and draining solutions simplify the maintenance of your ice bath.
- Using insulation and covers can maintain desired temperatures for longer.
In recent years, ice baths have gained popularity among athletes and fitness enthusiasts looking to improve their recovery process. With this comprehensive guide, you’ll learn how to create your own DIY ice bath setup at home, the essential components you'll need, and benefits you might experience.
What is a DIY Ice Bath?
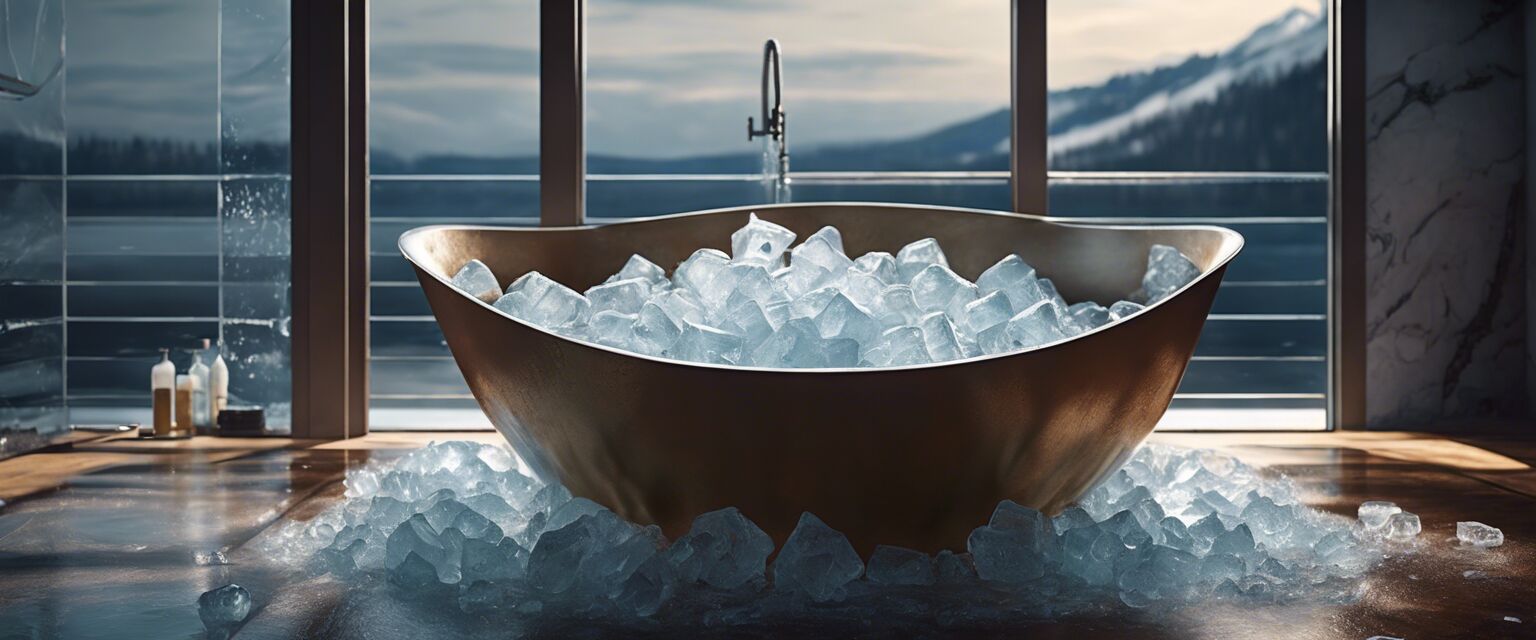
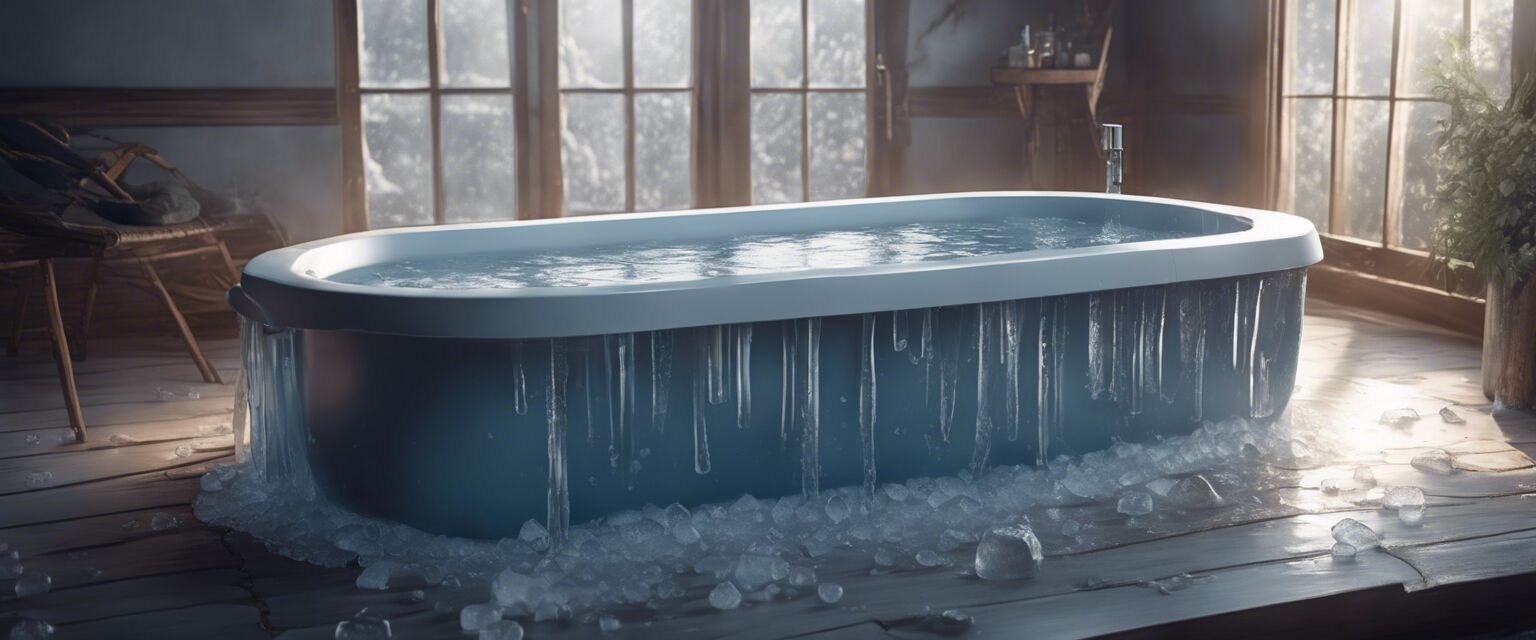
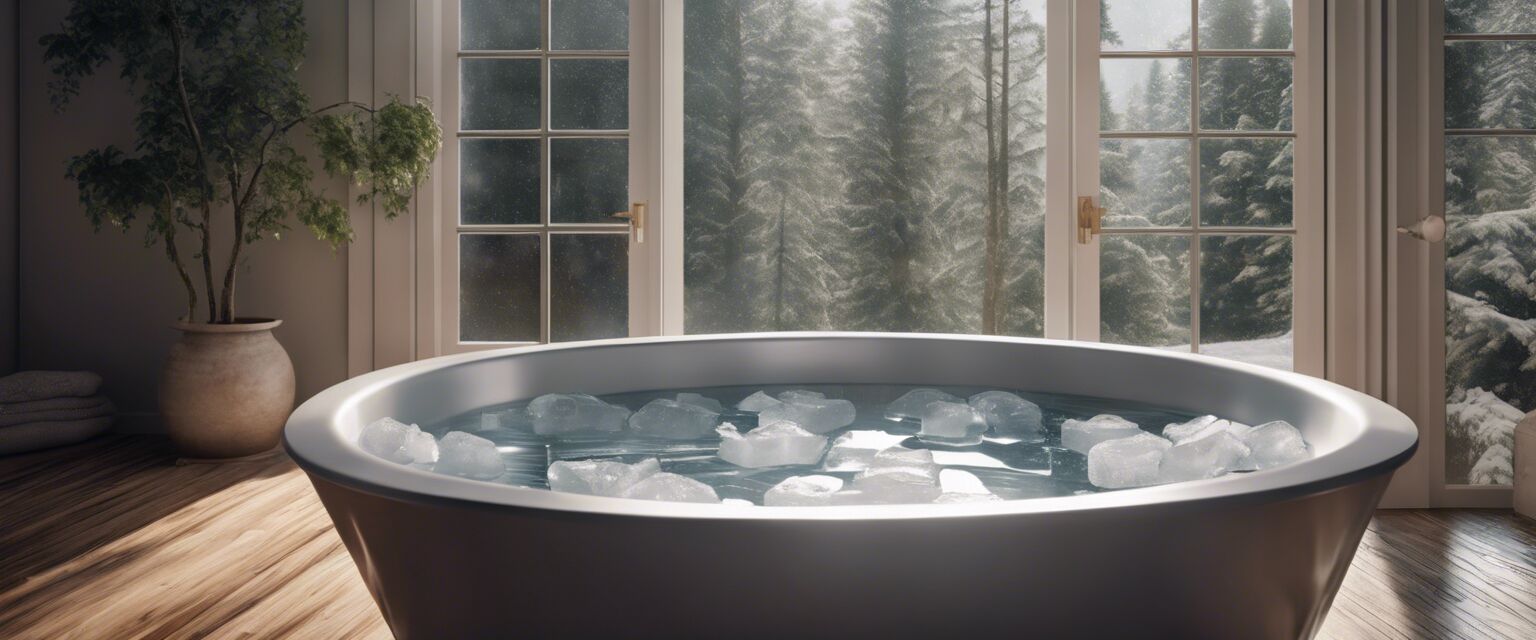
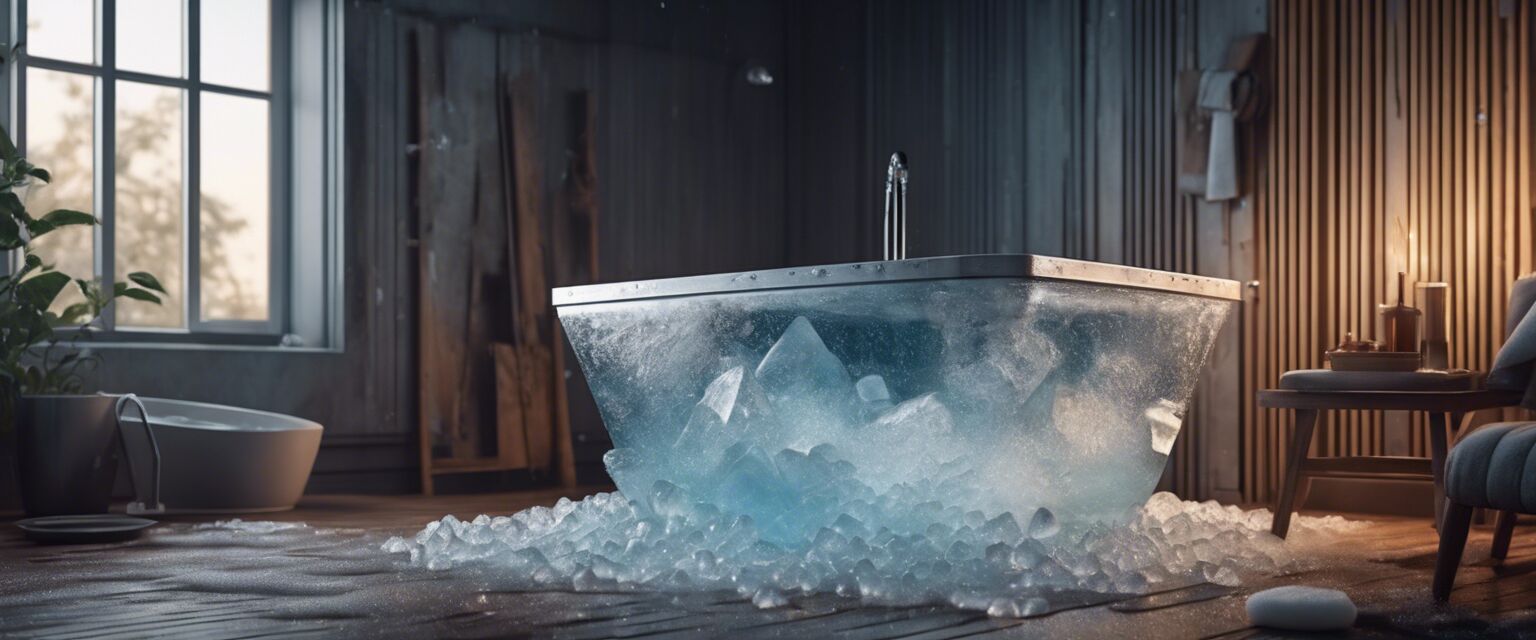
A DIY ice bath is a simple setup that allows individuals to immerse themselves in cold water, typically combined with ice, for a designated period. This practice is often used after intense workouts to help in muscle recovery. Learning how to create your own ice bath at home can save you time and money while giving you the flexibility to use it whenever you need.
Benefits of Ice Baths
- May reduce soreness and inflammation.
- Aids in faster muscle recovery.
- Enhances circulation.
- Improves mood due to the release of endorphins.
Essential Materials for Your DIY Ice Bath
Creating a DIY ice bath requires specific materials and equipment. Here’s what you’ll need:
| Item | Description |
|---|---|
| Ice Bath Tub | A container suitable for holding water and ice. |
| Cold Therapy Gear | Items such as ice packs or reusable gel packs. |
| Filling and Draining Solutions | Hoses or pumps to fill and drain the water efficiently. |
| Insulation and Covers | Material to help maintain water temperature. |
| Thermometer | A tool to measure water temperature accurately. |
Setting Up Your DIY Ice Bath
Follow these essential steps to create your own ice bath at home:
- Select a suitable location in your home or garden.
- Choose the right ice bath tub that fits your needs.
- Connect the filling and draining solutions for easy maintenance.
- Fill the tub with water and add ice cubes.
- Use insulation and covers to keep the temperature down.
- Check the temperature using a thermometer before entering.
Maintenance Tips
Beginner's Section: Maintenance Tips
- Change the water regularly to keep it clean.
- Use a cover when not in use to maintain temperature and cleanliness.
- Store ice in a designated area to replenish easily.
Common Mistakes to Avoid
- Not using enough ice for desired temperature.
- Failing to monitor water temperature accurately.
- Ignoring hygiene practices around the setup.
Ice Bath Accessories
In addition to essential materials, you can enhance your ice bath experience with several accessories:
| Accessory | Description |
|---|---|
| Recovery Accessories | Supportive gear to enhance recovery sessions. |
| Specialized Thermometers | Advanced measurements for precise temperature control. |
| Insulation Systems | Built to maintain cold water temperature efficiently. |
| Chairs or Supports | Ensure comfort while seated in the bath. |
Frequently Asked Questions
Pros
- Cost-effective compared to commercial options.
- Customizable to suit personal preferences.
- Convenient access anytime you want to use it.
Cons
- Initial setup can be time-consuming.
- Requires regular maintenance and cleaning.
- May not be suitable for those with specific medical conditions.
Expand Your Setup
Once you’re comfortable with the basics, consider exploring additional components to enhance your ice bath experience!
- Cold therapy gear
- Filling and draining solutions
- Various ice bath tubs
- Custom insulation and covers
- Recovery accessories to enhance your sessions
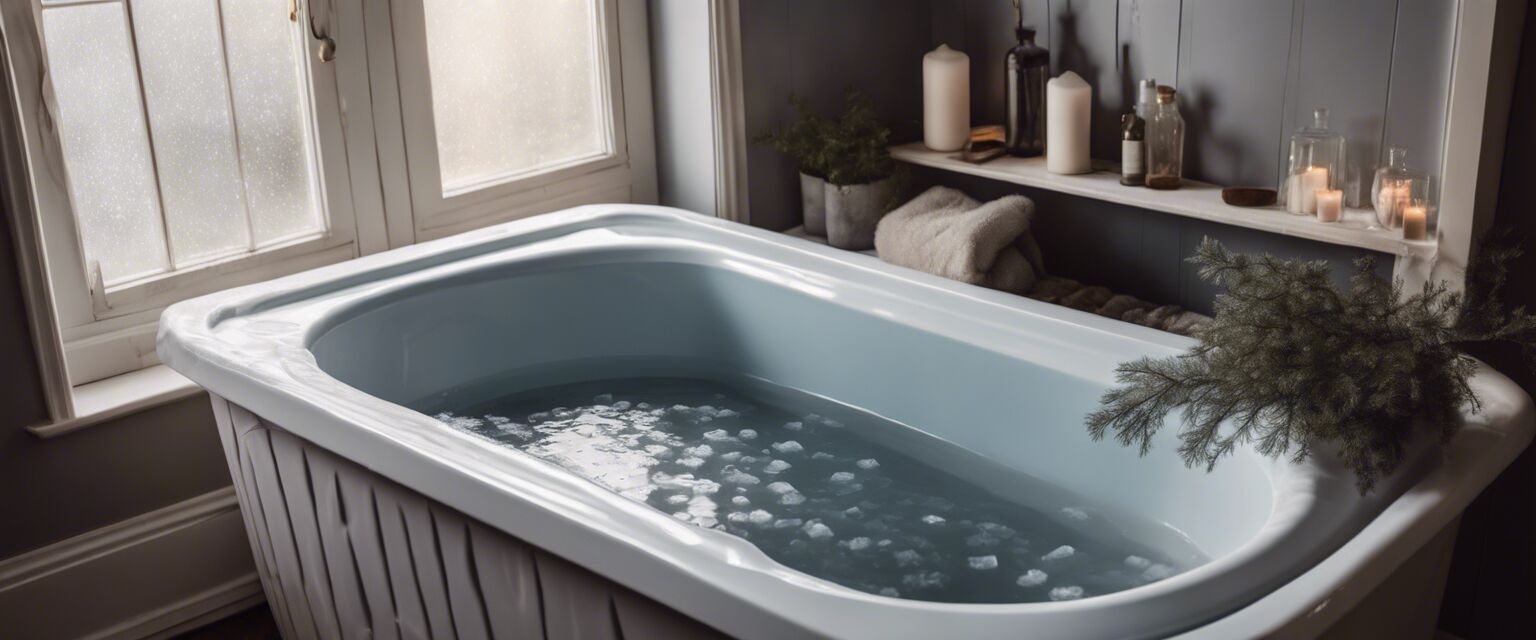
Conclusion
Setting up a DIY ice bath at home is straightforward with the right tools and knowledge. By following this guide, you’ll not only create an effective setup for recovery but also enhance your overall well-being. Invest in the necessary materials today and enjoy the benefits of your very own ice bath.

