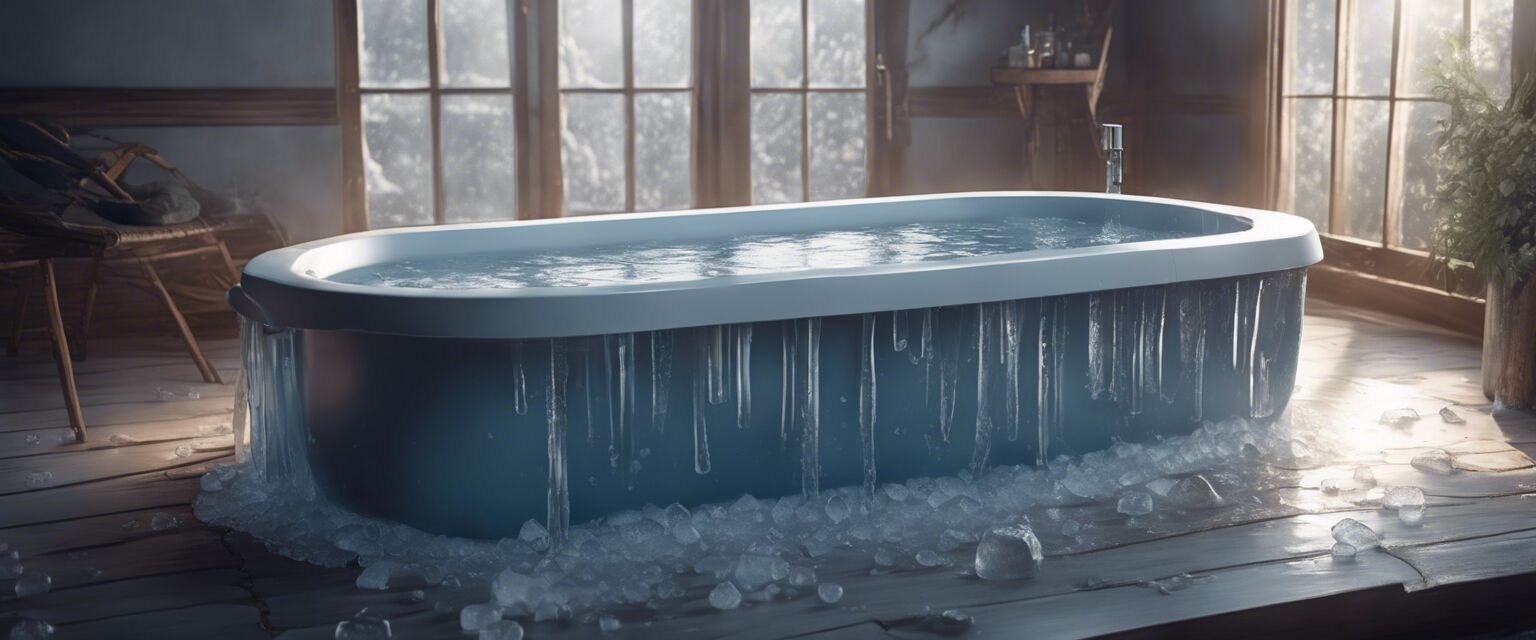
Materials Needed for DIY Ice Baths
Key Takeaways
- Setting up an ice bath at home requires specific materials.
- Proper insulation and filling solutions can enhance the ice bath experience.
- Essential accessories can improve convenience during recovery sessions.
- Temperature control is vital for effective ice baths.
Creating your own ice bath at home can be a rewarding project that enhances your recovery routine. Whether you're a dedicated athlete or just looking for a refreshing way to unwind, understanding the materials needed for a DIY ice bath setup is crucial. This guide will walk you through everything you need to get started.
Essential materials for DIY ice baths
| Material | Description |
|---|---|
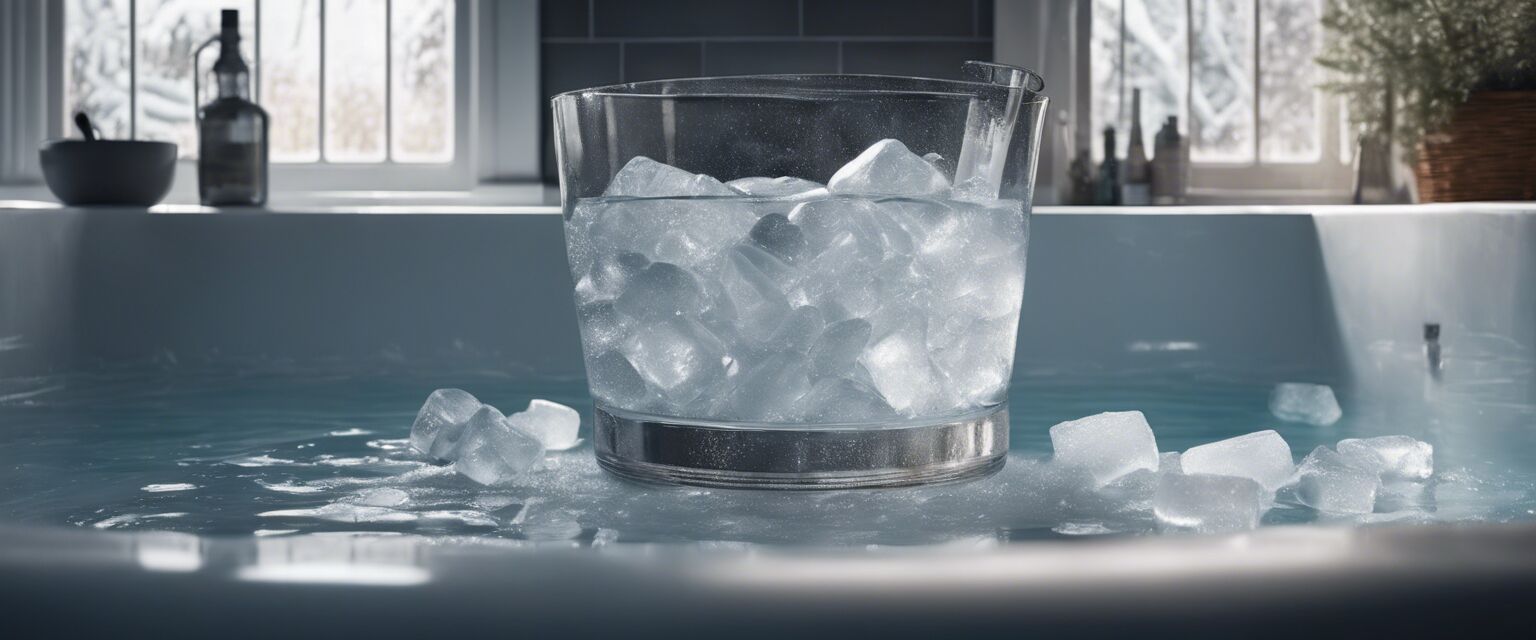
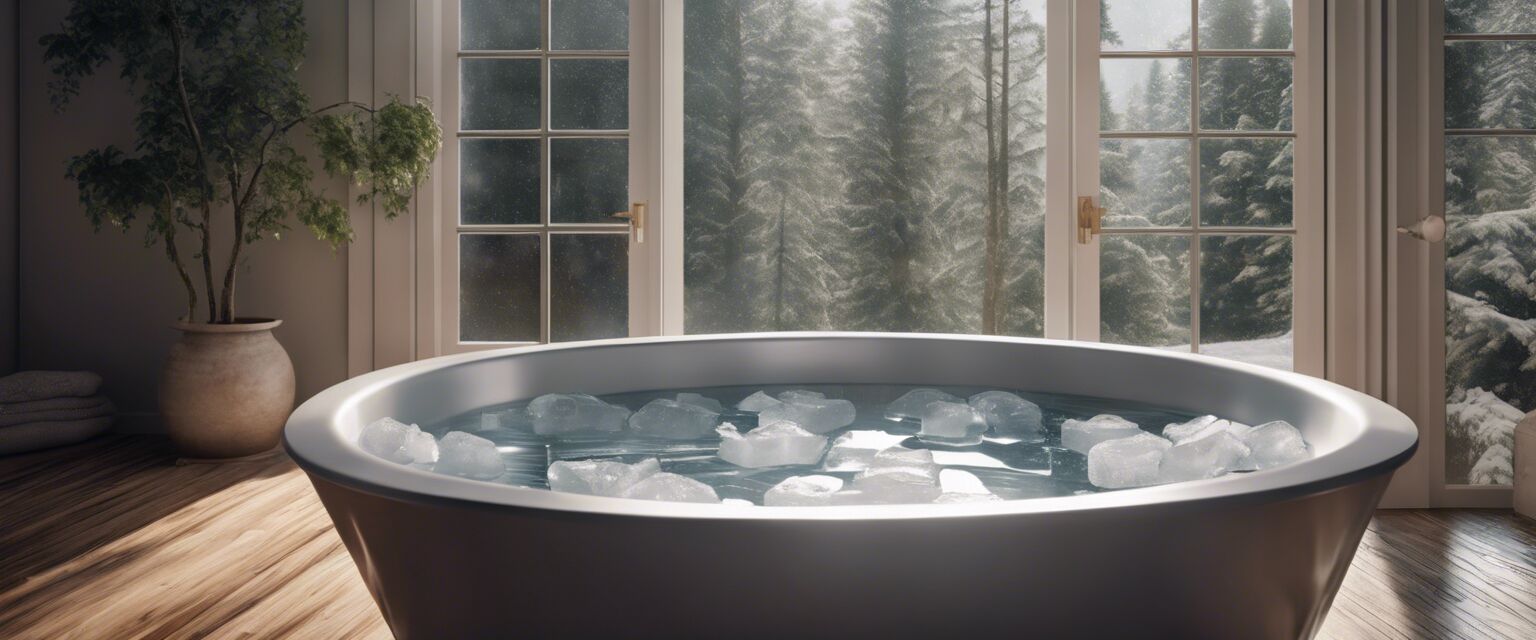
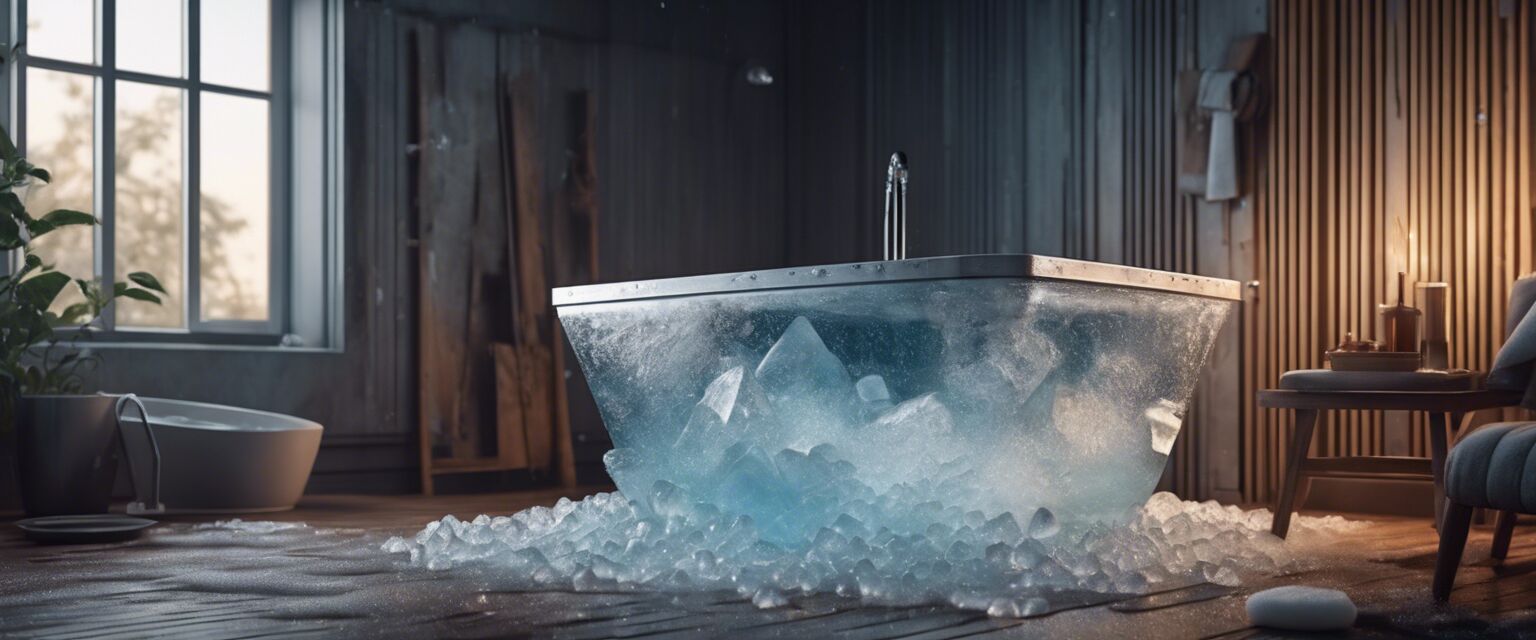
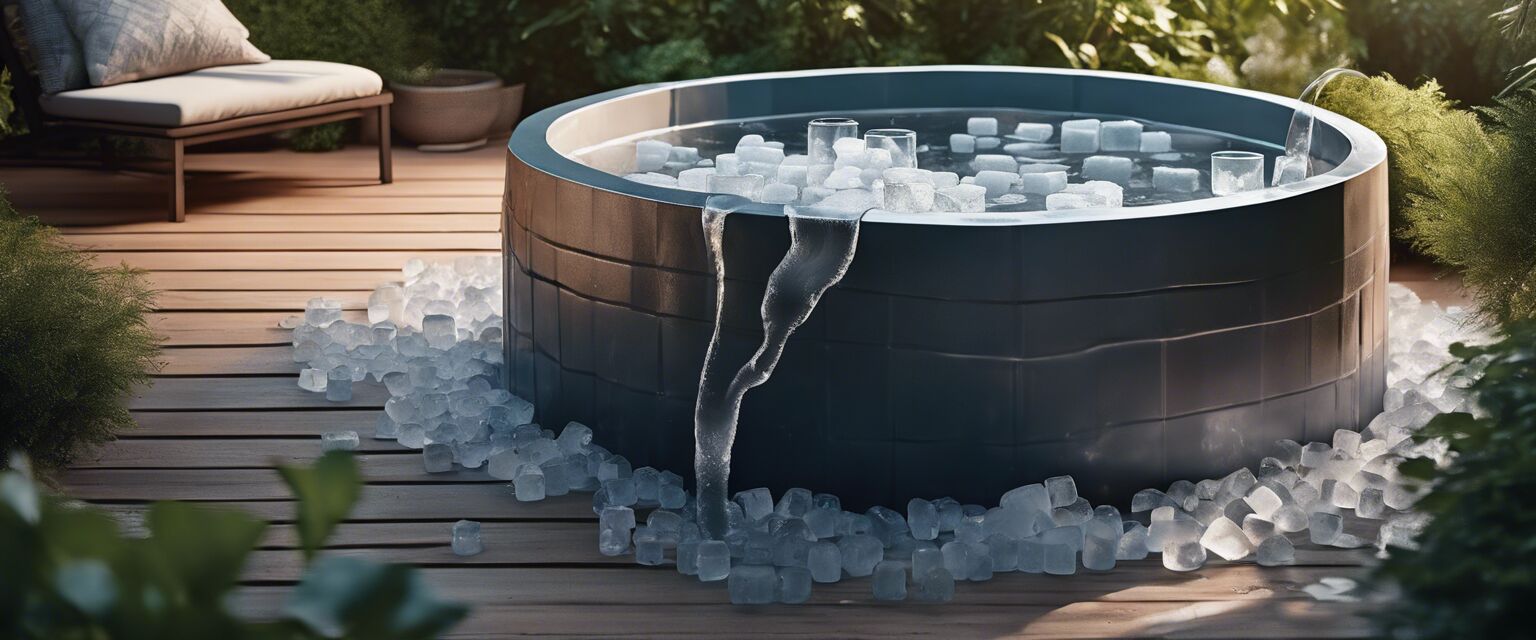
| Ice Bath Tub | A sturdy tub designed to hold ice and water, essential for immersion. |
| Insulation Material | Helps maintain the temperature of the ice bath for longer periods. |
| Filling Solution | Equipment or tools for efficiently filling and draining the tub. |
| Ice | Crushed or block ice to cool the water in the tub. |
| Thermometer | A device to monitor the water temperature for optimal chilling. |
| Recovery Accessories | Items like towels and non-slip mats to enhance comfort and safety. |
Step-by-step guide to gathering your materials
- Choose your ice bath tub based on available space.
- Purchase insulation materials like foam or blankets.
- Find effective filling and draining solutions.
- Stock up on ice, either from a store or ice maker.
- Get a reliable thermometer for accurate temperature readings.
- Gather recovery accessories to ensure a comfortable experience.
Best practices for setting up your ice bath
Once you have all the materials, it's essential to set up your ice bath correctly. Here are some best practices:
- Ensure the tub is placed on a flat, stable surface.
- Use insulation materials to wrap around the tub for better temperature control.
- Fill the tub with water, then add ice gradually.
- Monitor the temperature for optimal chilling.
- Prepare towels and mats nearby for after your ice bath session.
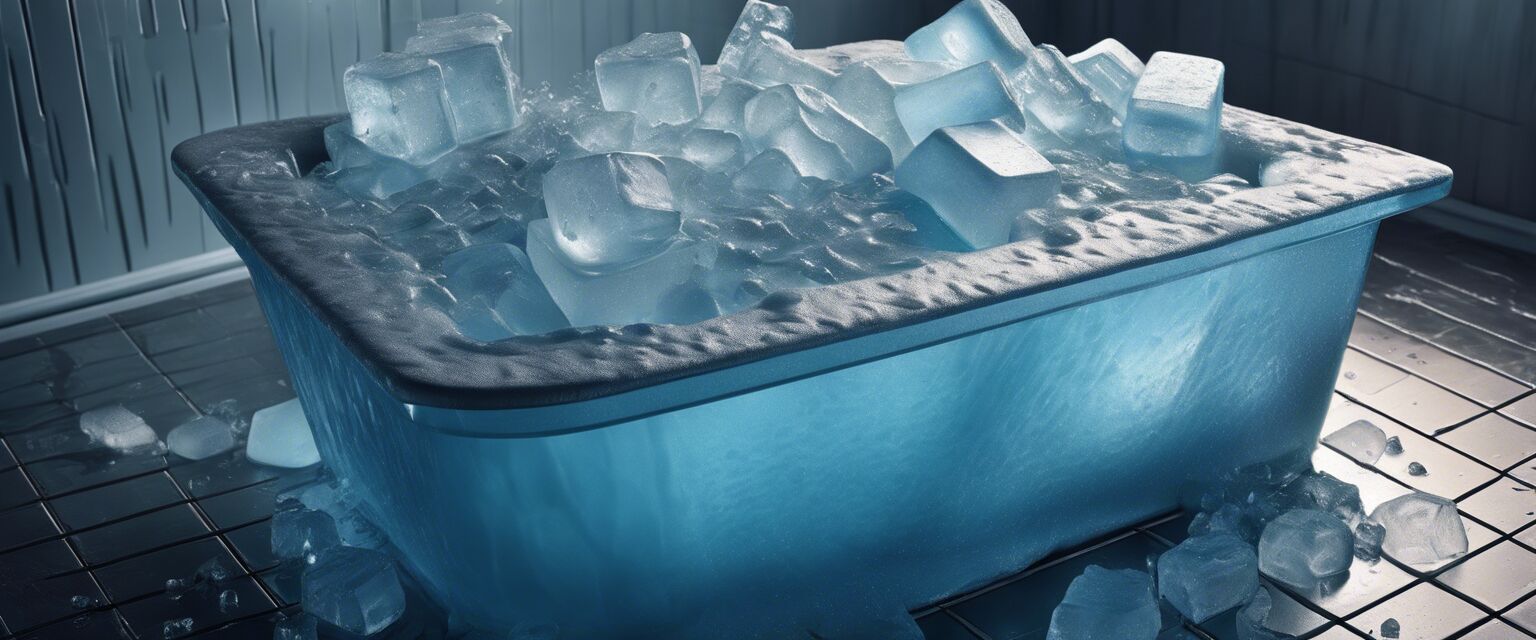
Important tools for efficient filling and draining
Having the right tools for filling and draining your ice bath can save you time and effort. Some recommended tools include:
| Tool | Purpose |
|---|---|
| Garden Hose | Quickly fills the tub with water. |
| Submersible Pump | Efficiently drains the water when not in use. |
| Ice Maker | Produces ice quickly for your bath. |
Choosing the right ice bath tub
Your choice of tub can significantly influence your ice bath experience. Here are some factors to consider:
- Size: Make sure it fits your space and allows for comfortable immersion.
- Material: Look for durable materials that can withstand cold temperatures.
- Portability: If you plan to move it, consider weight and ease of transport.
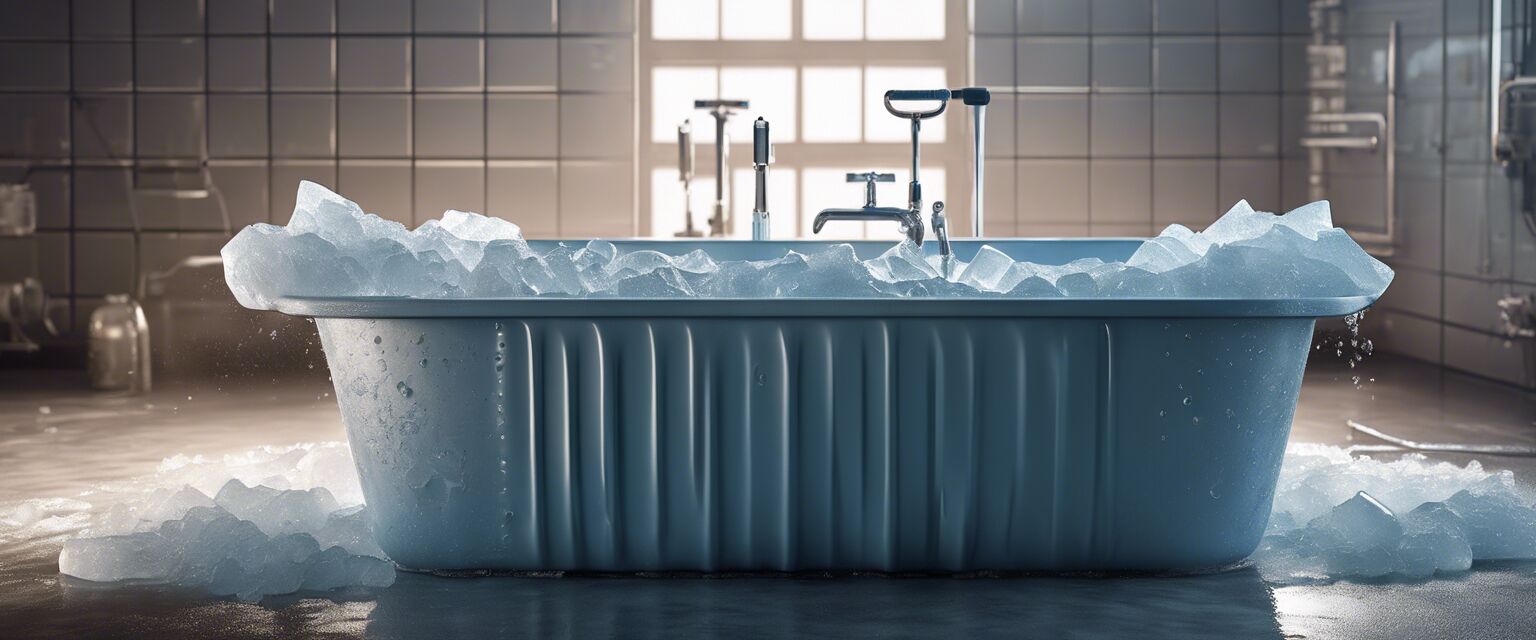
Insulation options for your ice bath
Insulation can help maintain the cold temperature of your ice bath, which is essential for an effective recovery session. Here are some insulation options:
| Insulation Type | Description |
|---|---|
| Foam Board | Lightweight and easy to cut for custom fit. |
| Reflective Blankets | Great for reflecting heat to keep the cold in. |
| Bubble Wrap | Cost-effective insulation that provides decent thermal resistance. |
Recovery accessories to enhance your experience
Having the right accessories can make your ice bath experience more enjoyable. Here are some recommended recovery accessories:
- Non-slip mat: Prevents slipping when entering and exiting the tub.
- Towel: For drying off after your session.
- Warm blanket: To wrap yourself in post-ice bath for comfort.
Tips for beginners
- Start with shorter sessions to acclimate your body.
- Gradually increase the amount of ice as you get used to the cold.
- Always have a warm towel nearby for comfort.
Conclusion
Setting up a DIY ice bath at home is an achievable goal with the right materials and tools. By following this guide, you can create an effective and enjoyable recovery space. For more information on specific products, check out our Cold Therapy Gear, Cleaning Filling and Draining Solutions, and Insulation and Covers sections.
Pros
- Cost-effective compared to commercial ice baths.
- Customizable to your needs and space.
- Provides a sense of accomplishment in setting it up yourself.
Cons
- Initial setup can be time-consuming.
- Requires regular maintenance and ice replenishment.
- May need some DIY skills for the best results.
